

Introduction
Facebook is one of the largest social media platforms in the world, and Facebook Business Manager is an essential tool for businesses looking to maximize their presence on this platform. Here is a step-by-step guide to registering your business in Facebook Business Manager.
1. Go to Facebook Business Manager
Go to Facebook Business Manager (https://business.facebook.com/) and click the "Create account" button.
2. Log in or create a Facebook account
- If you already have a Facebook account, you can use it to log in.
- If you do not have a Facebook account, you will need to create one.
3. Enter your business name
You will be asked to enter your business name. Make sure this name reflects your business's official name, as it will be visible to your customers and the general public.
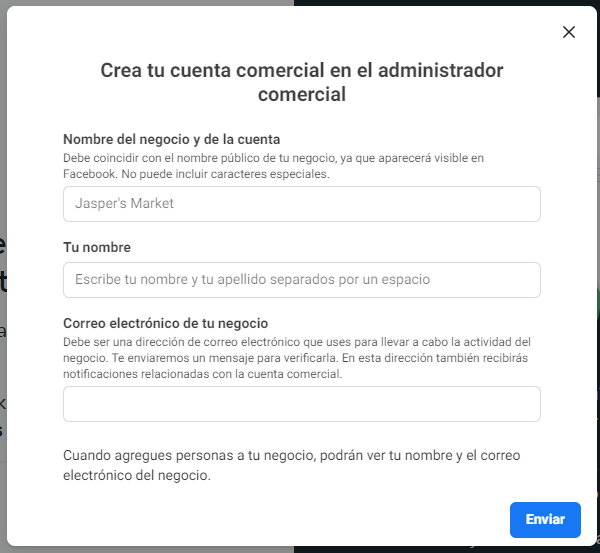
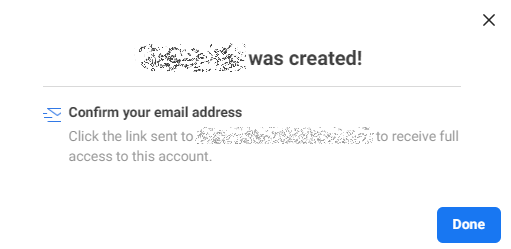
4. Confirm your email address
Once you have completed the form, you will be asked to confirm the email account you used.
5. Add details about your business
Now it is time to complete your business profile. To do this, go to your business information (https://business.facebook.com/settings/info) and click "Edit". Once you have done this, complete the form.
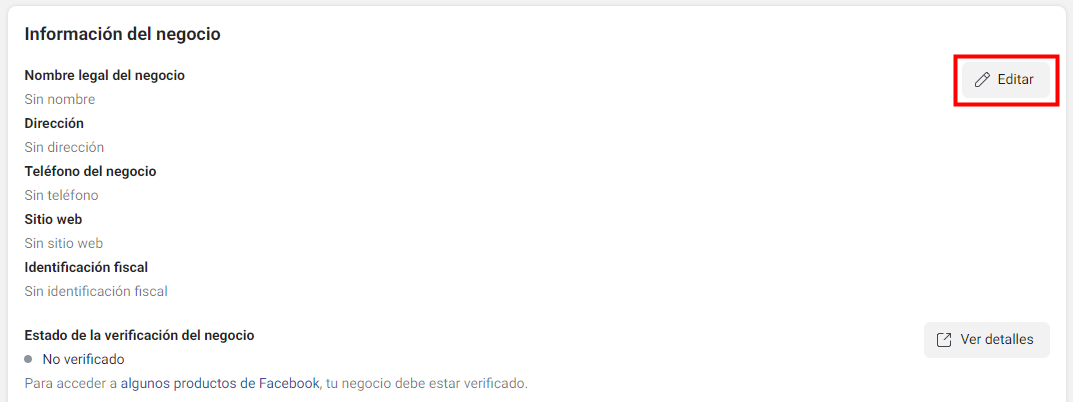
The form will ask for information about your business: name, tax ID, physical address, website, and a contact phone number.
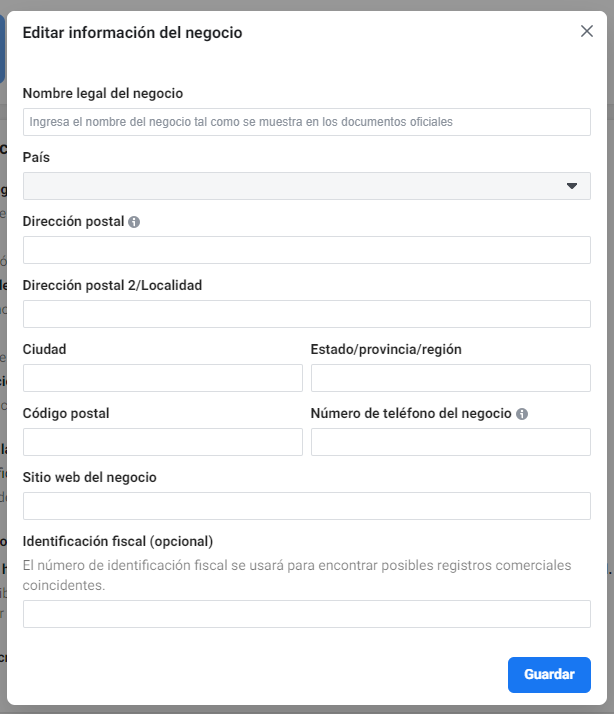
Complete all required fields and click Save, and your business will be registered on Facebook.
You may receive an email from Facebook requesting additional information or notifying you of any issues. Simply follow the instructions.