

Introduction
In this guide, you will learn the steps to register as a developer and register the APP that will connect to Afilnet and allow you to use advanced WhatsAPP services.
1.- Registering as a developer
Registering as a developer gives you access to advanced WhatsAPP services. This registration allows you to connect your account to Afilnet so you can get the most out of the WhatsAPP Business API service. To register as a developer, go to the URL: https://developers.facebook.com/ , log in to your Facebook account and click "Get Started".
1.1.- Accept the terms and conditions
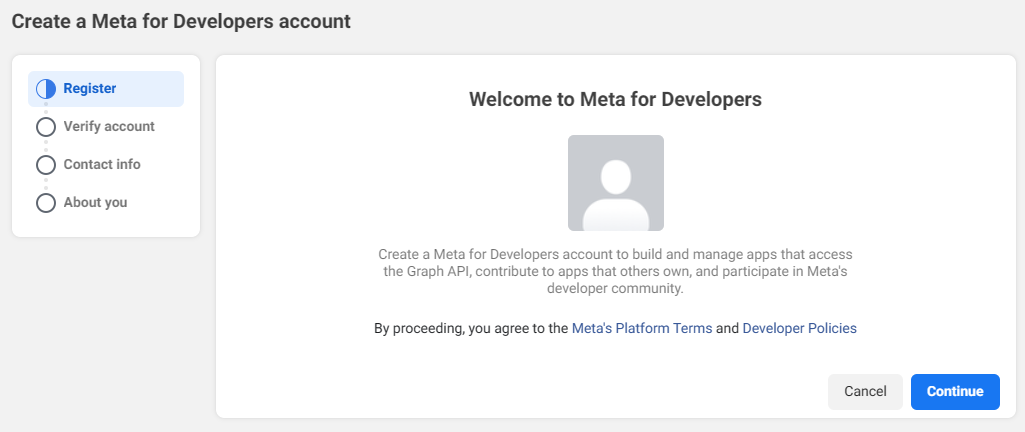
Once you have accessed developer registration, you will be shown the registration process. The first step is to read and accept Facebook's terms and conditions.
1.2.- Verify your account
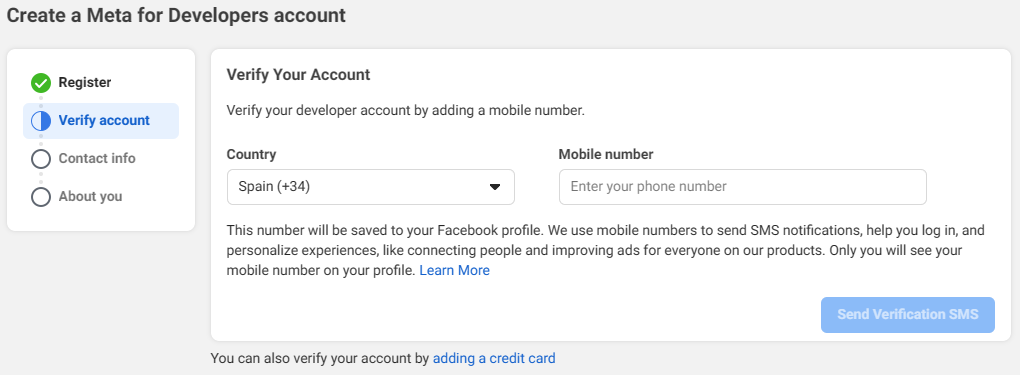
Once you have accepted the terms of service, you must verify your account. For verification, you will be asked for a phone number. This is the phone number you normally use for the services your company subscribes to.
1.3.- Contact information
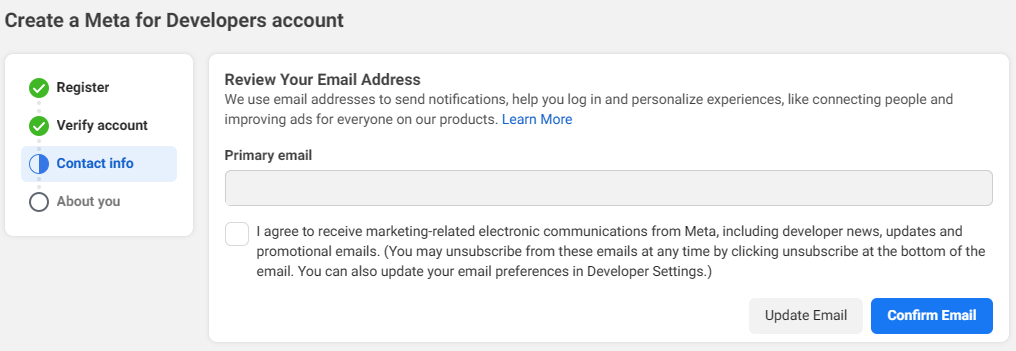
Once you have entered your phone number, it is time to verify your contact email account.
1.4.- Select the role that describes your profile
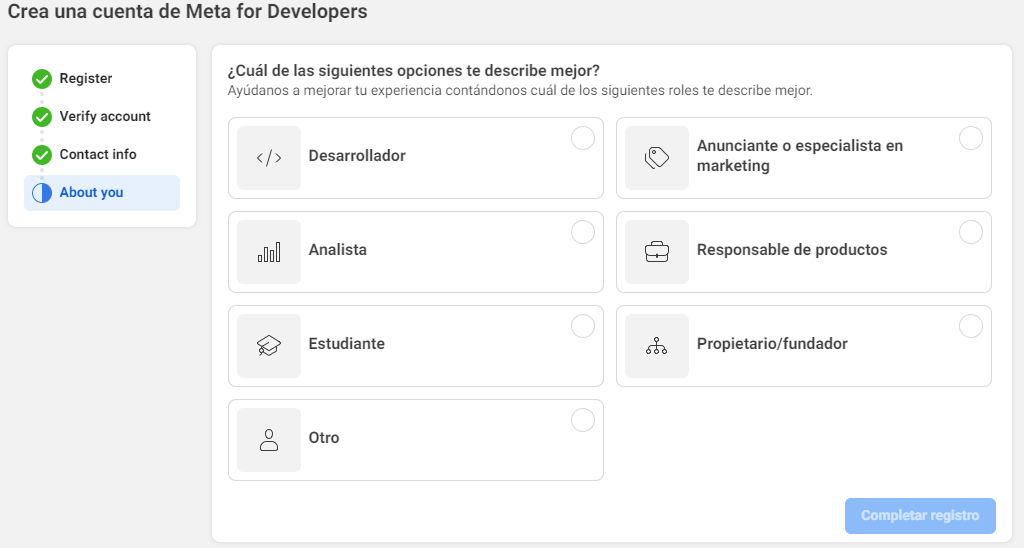
Once you have entered and verified your email, the last step in registering as a developer is to select your role. Simply select the desired option from those shown.
2. Registering my first APP
Once you have registered as a developer, the next step is to register an APP to obtain the credentials needed to connect your Facebook account to Afilnet. To do this, click "Create App" within your Facebook developer account.
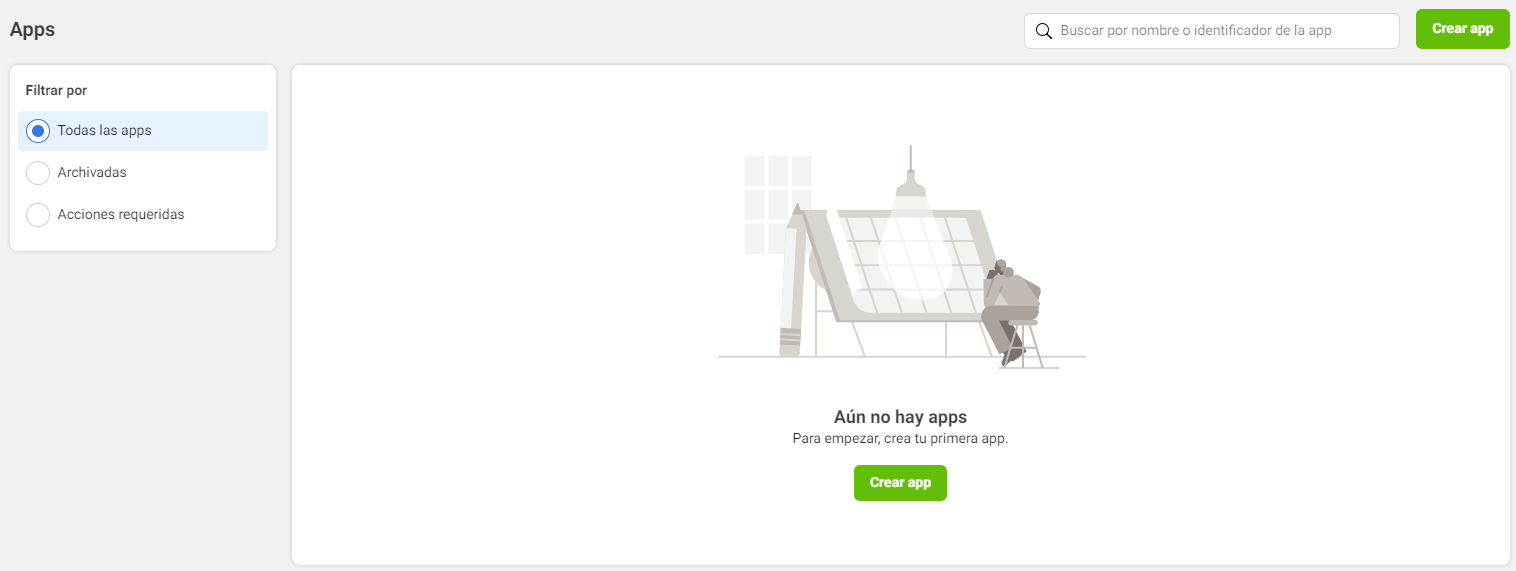
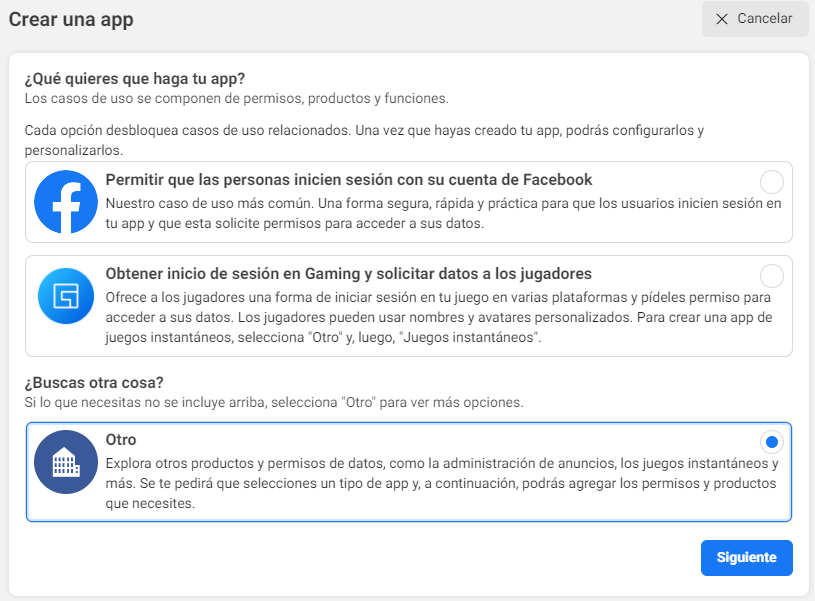
2.1.- Select the type of APP to create
The first step in creating an APP is to select the main functionality we need for our APP. Here, we must select "Other":
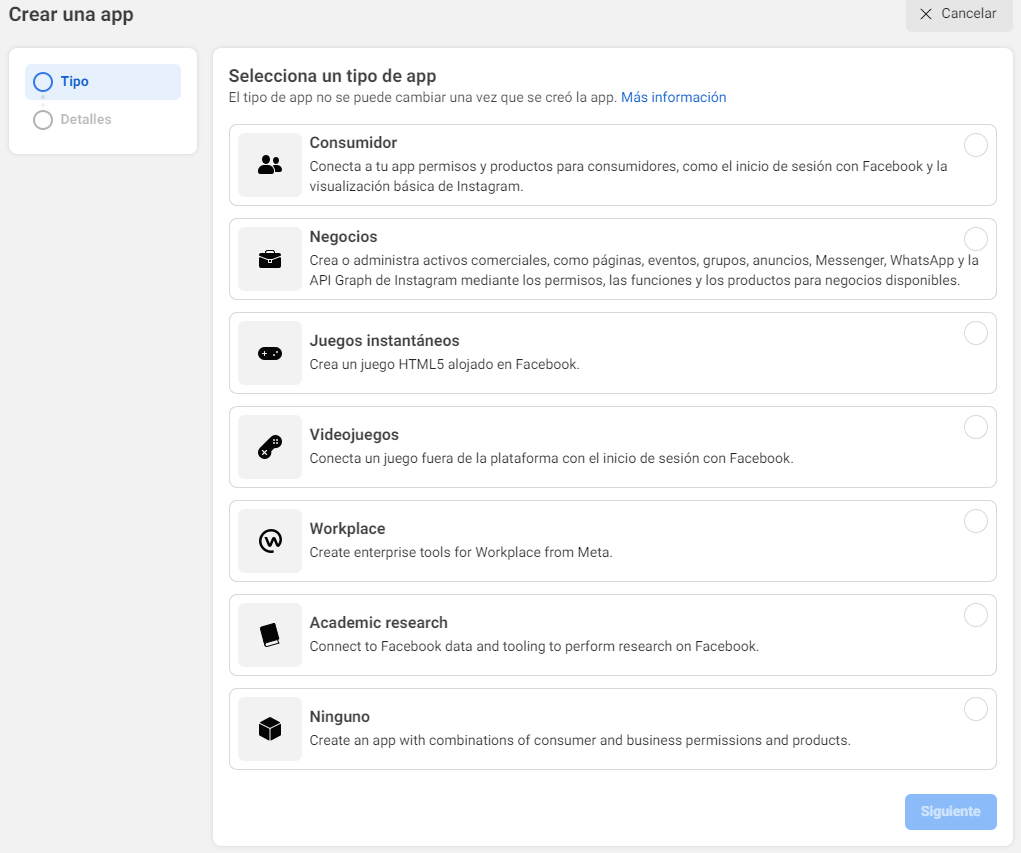
2.2.- Select the APP type
Now we will be asked what type of APP we are going to create. Here, we must select "Business":
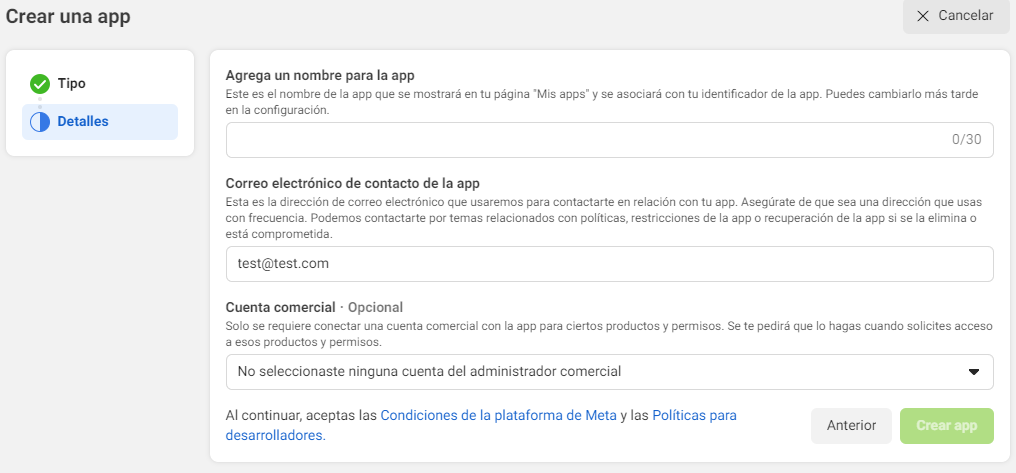
2.3.- Complete the APP information
In this step, we will enter the application details. Enter the name you want to give it (you can use any name), enter the email address you want Facebook to use to contact you, and select your business account (the account you created when registering your business at business.facebook.com).
2.4.- Add WhatsAPP to the APP
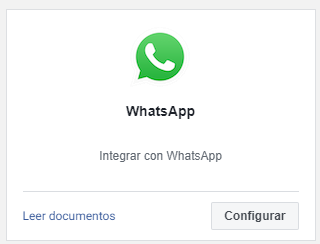
Now we need to add the WhatsAPP service to our APP. To do this, select "WhatsAPP" from the product list and click "Set Up".
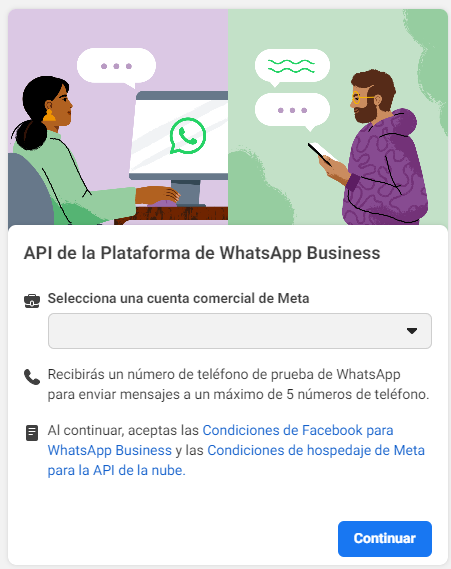
You will now be asked to select the business account to associate with it. Simply select the account and click Continue:
Once all this is done, you have registered your APP and it is ready to start sending / receiving messages.